Description
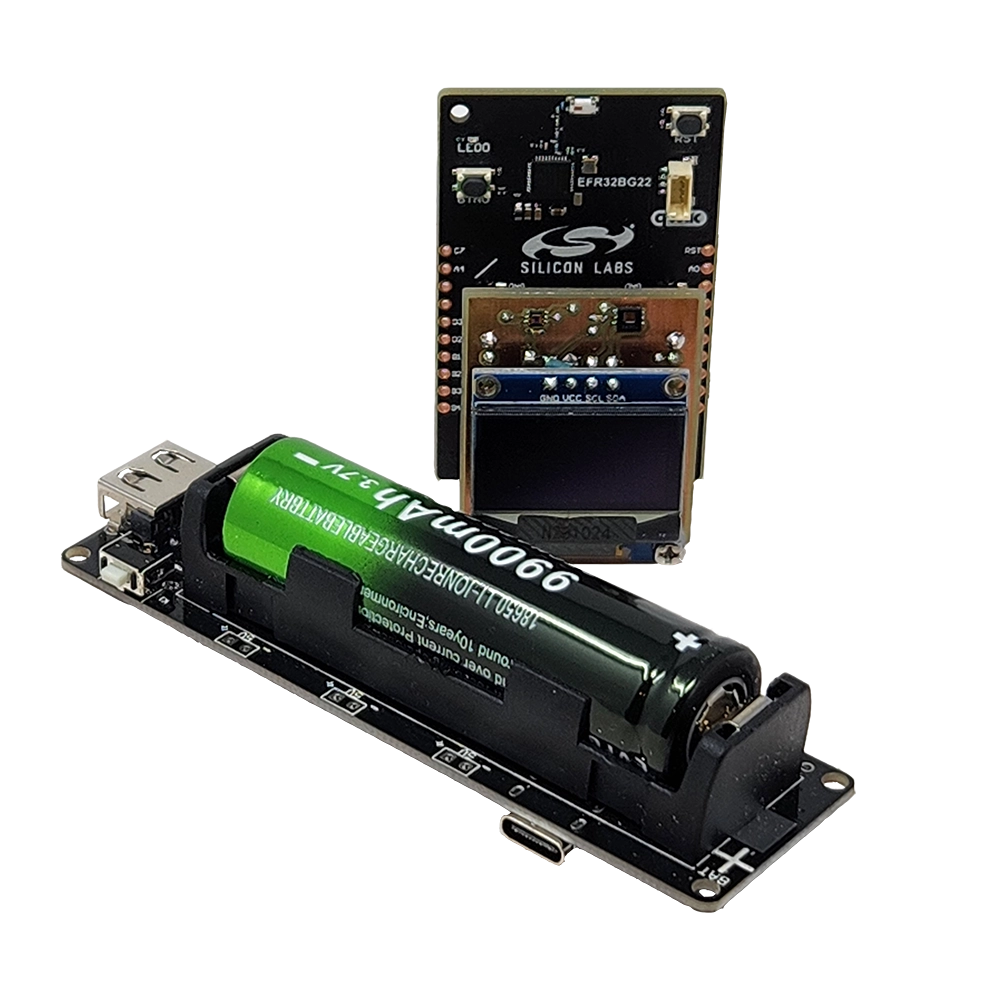
This project is built on the Silicon Labs BG22-EK4108A Microcontroller.
Peripherals include:
LY Tech Thin Ribbon Micro USB
18650 Li-Ion Flat Top Battery 9900mAH
Diymore 18650 Li-Ion Battery V3 Shield Power Bank
HiLetgo 0.96″ SSD1306 i2c 128×64 OLED 4 Pin Display
Texas Instruments HDC2080DMBR Humidty/Moisture Sensor
Vishay Semiconductor VEML6035 Ambient Light Sensor
DC3V 300mm Flexible Filament LED Warm Light 2200K
Bambu Labs PLA Marble
Red Oak Wood 1/2″ x 2″ x4′
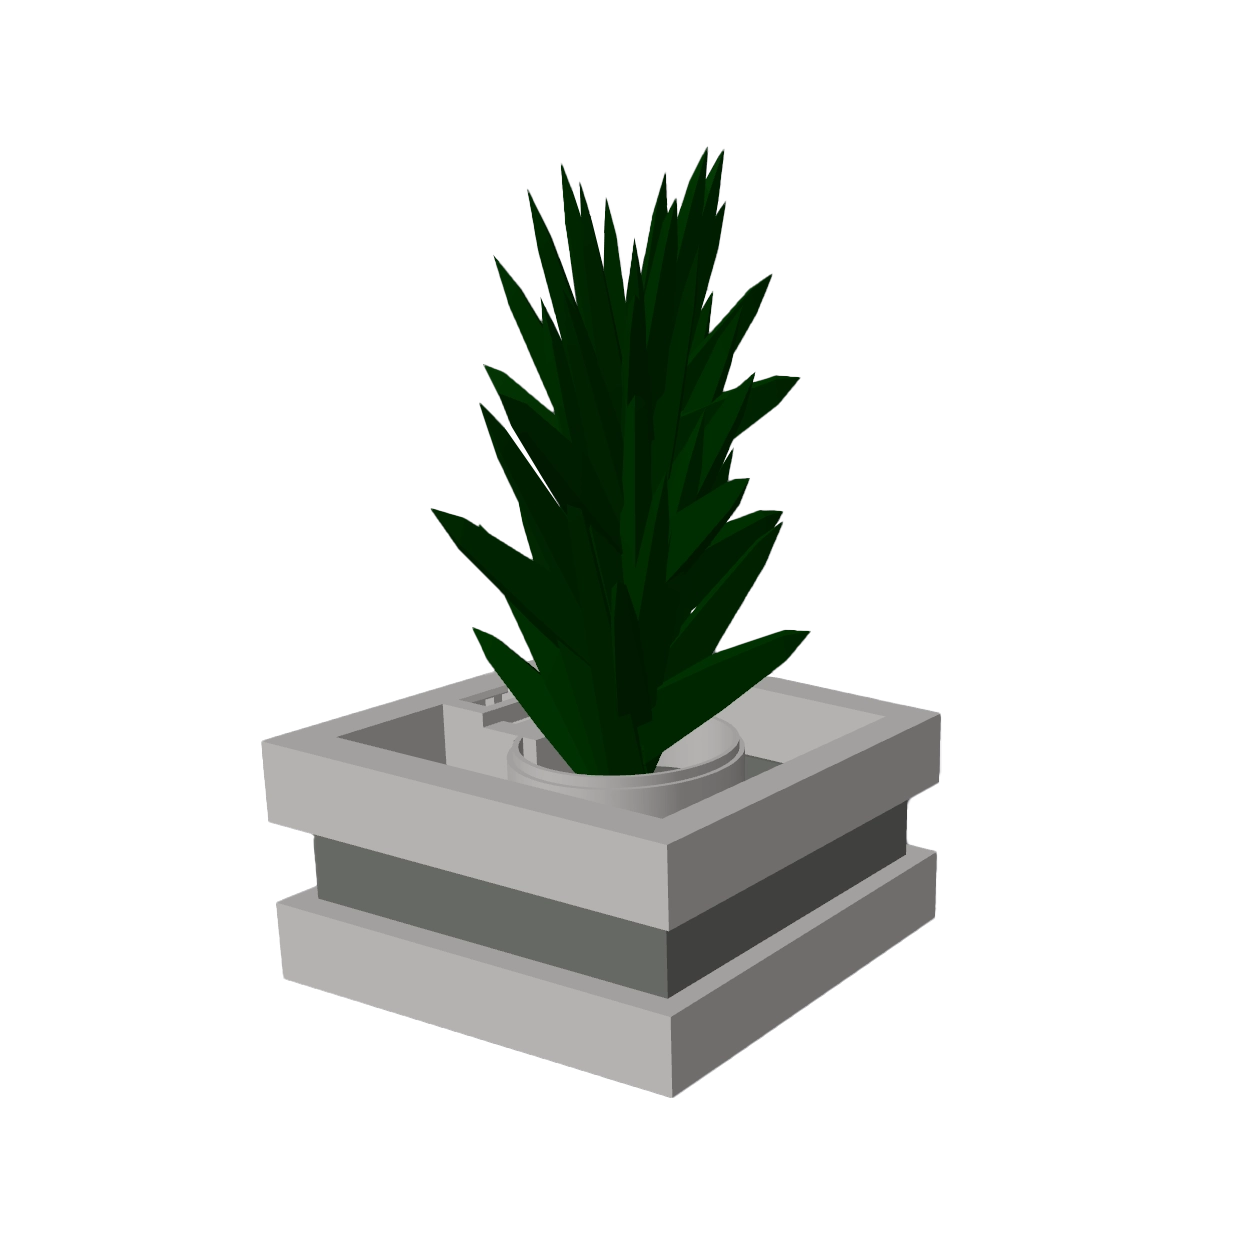
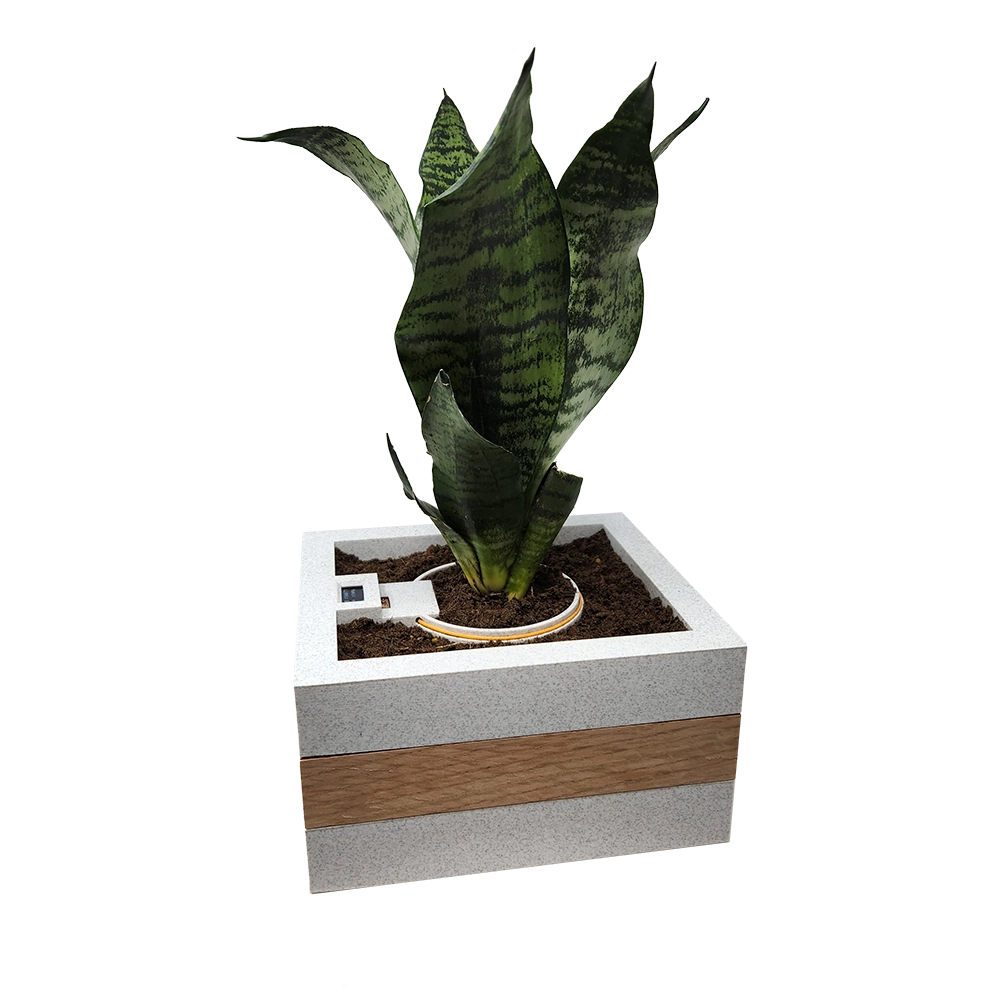
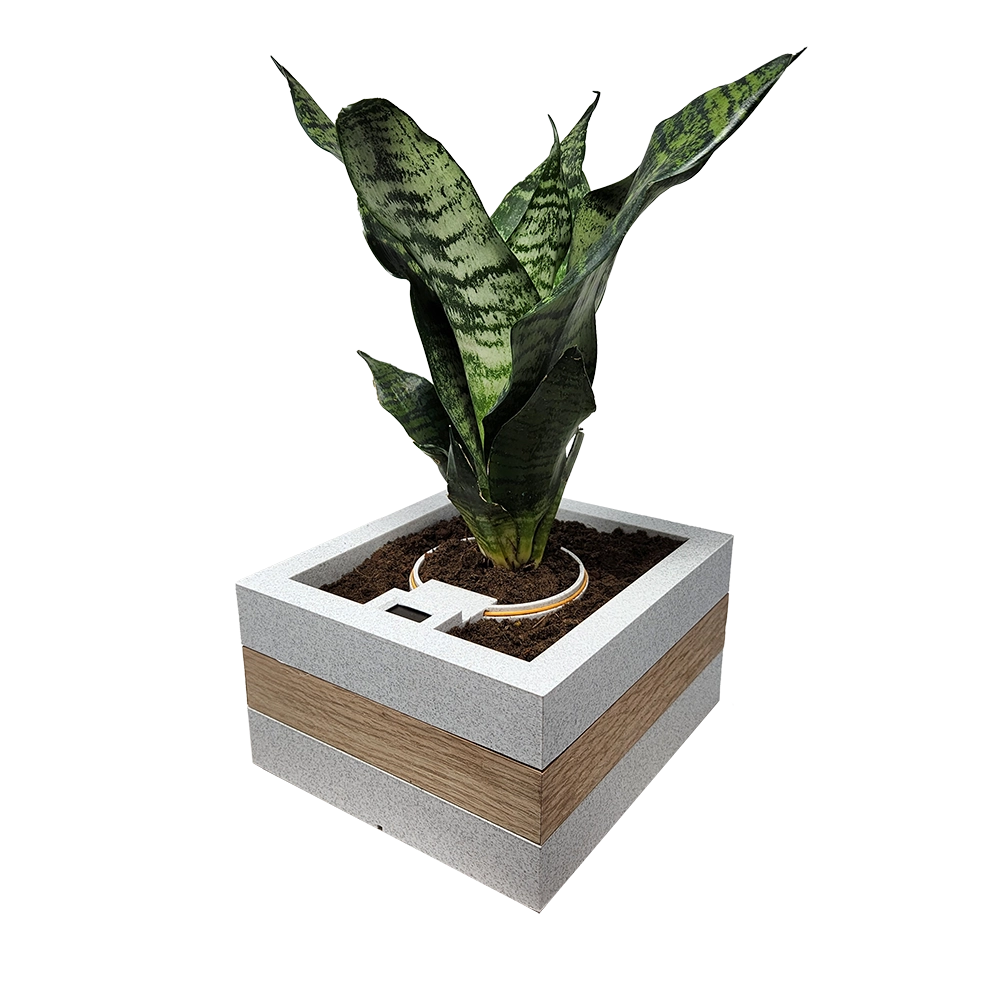
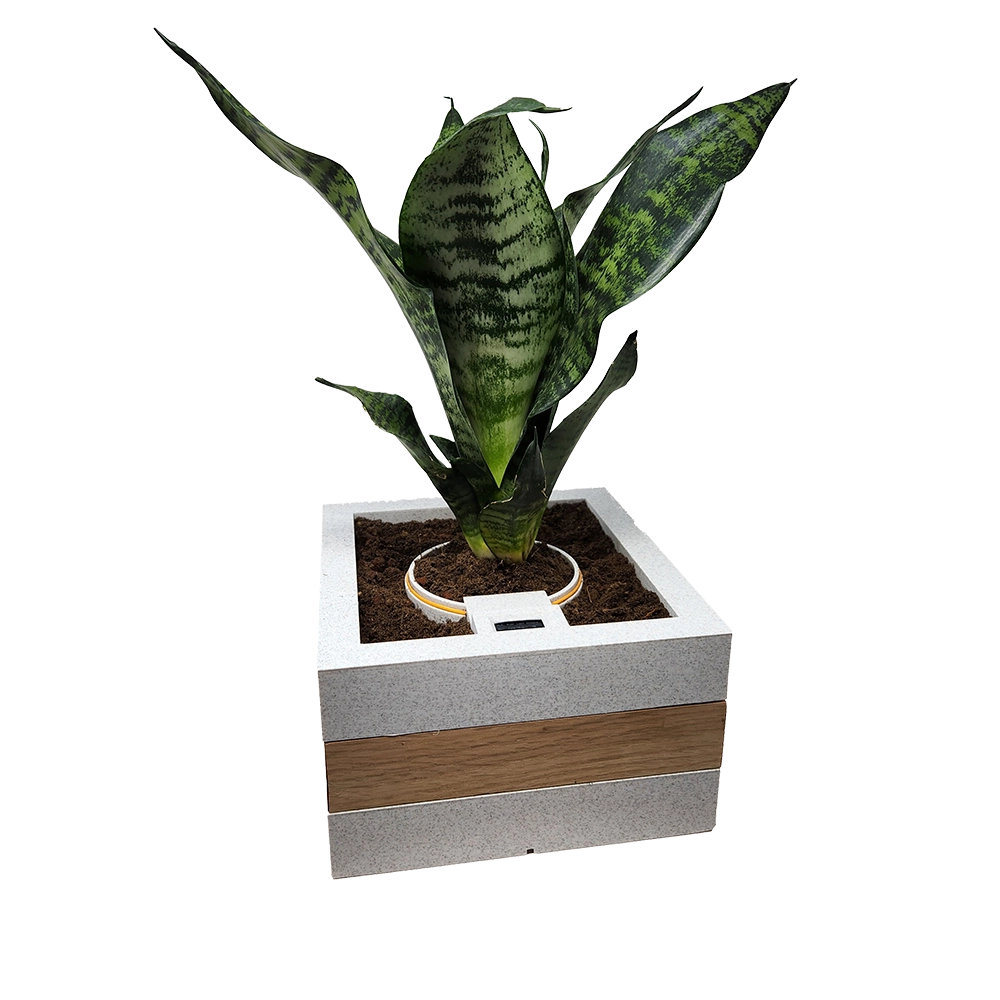
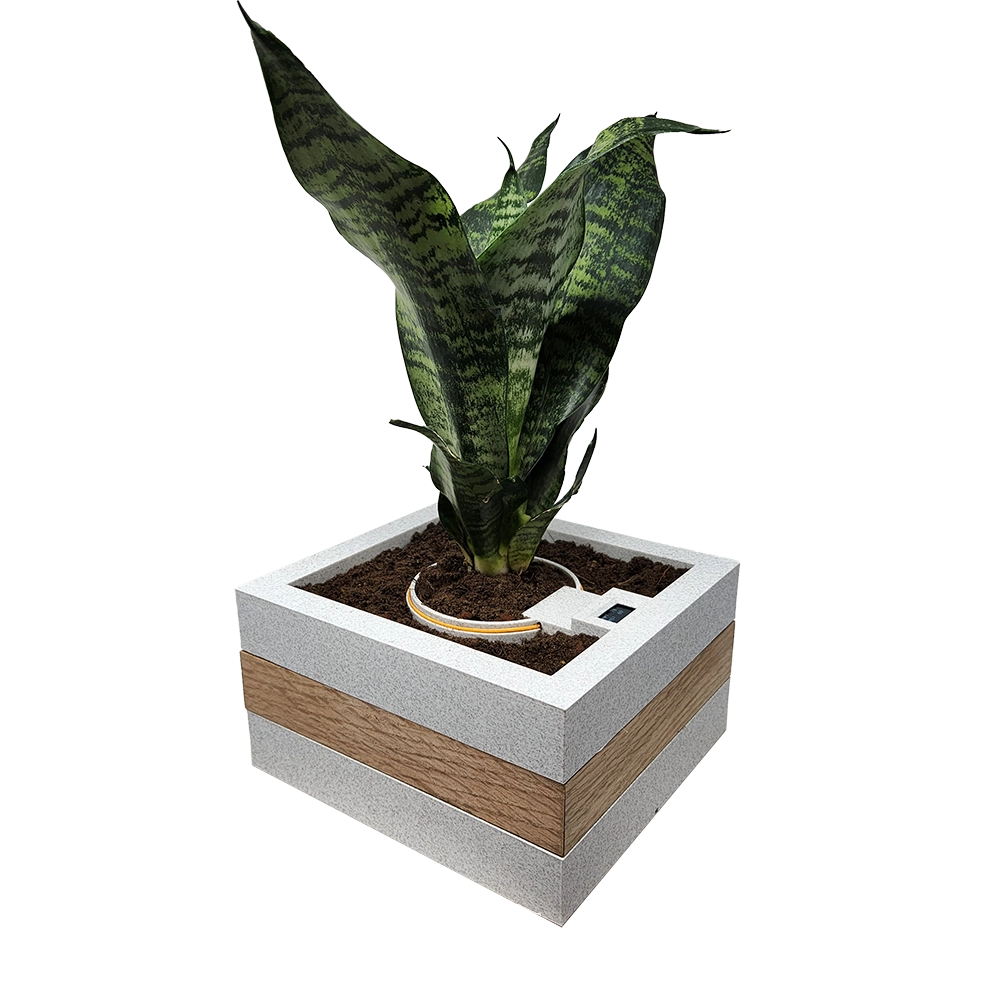
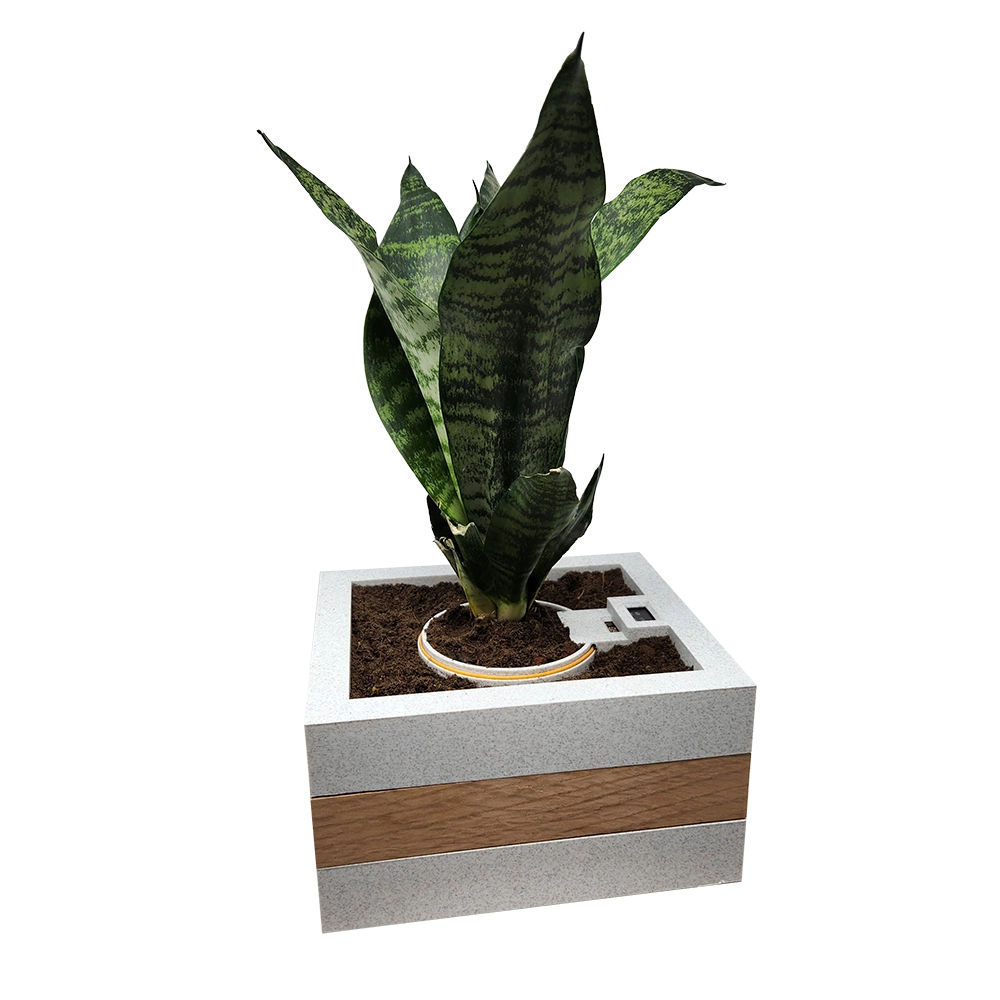
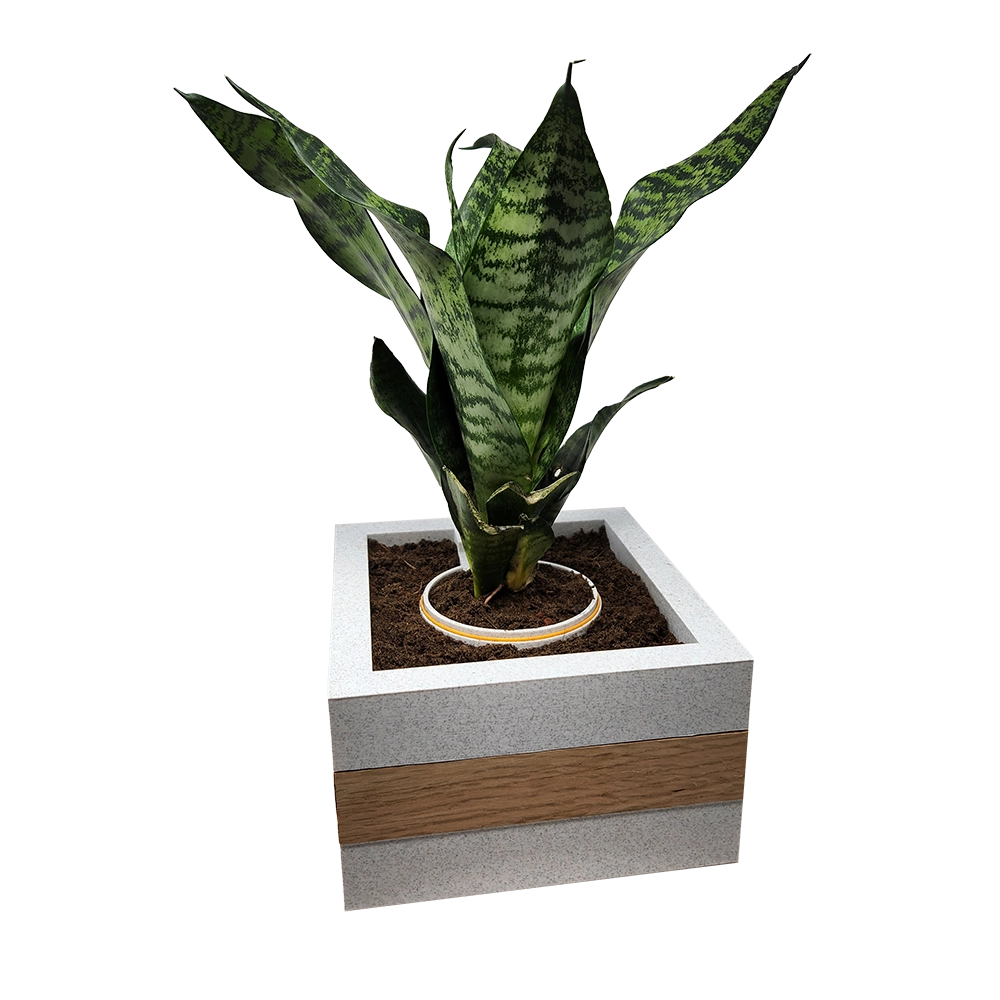
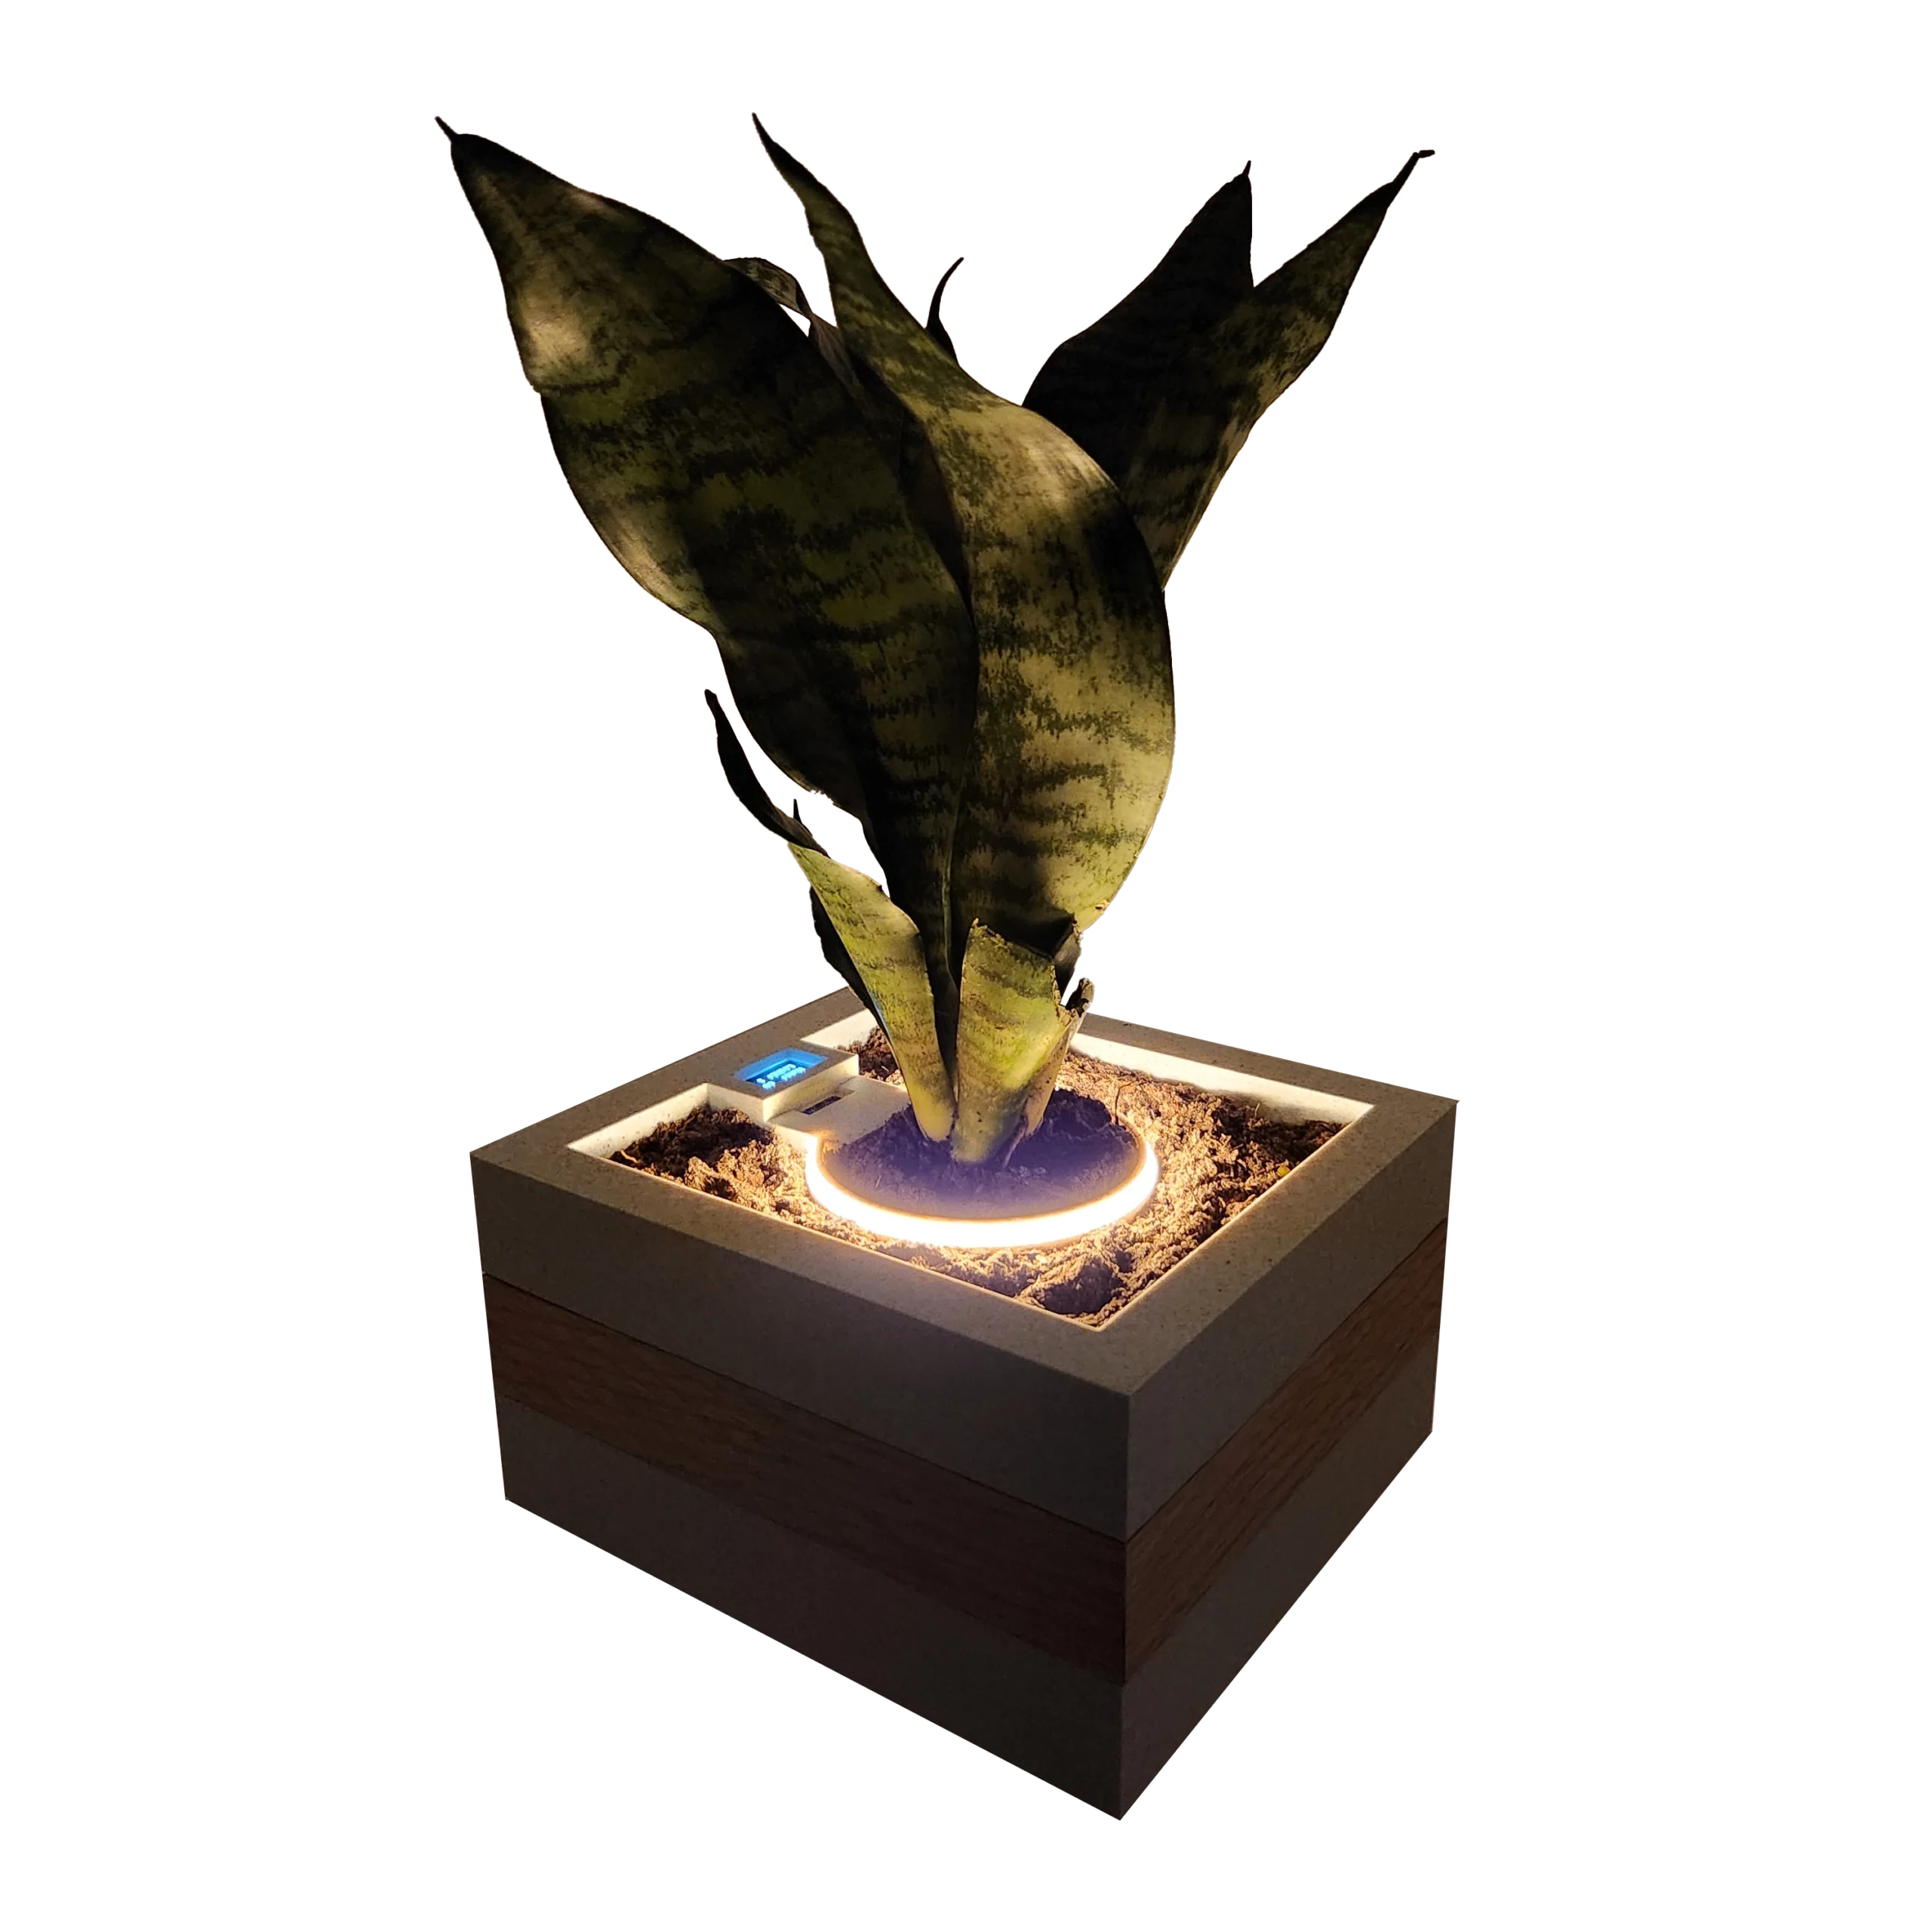
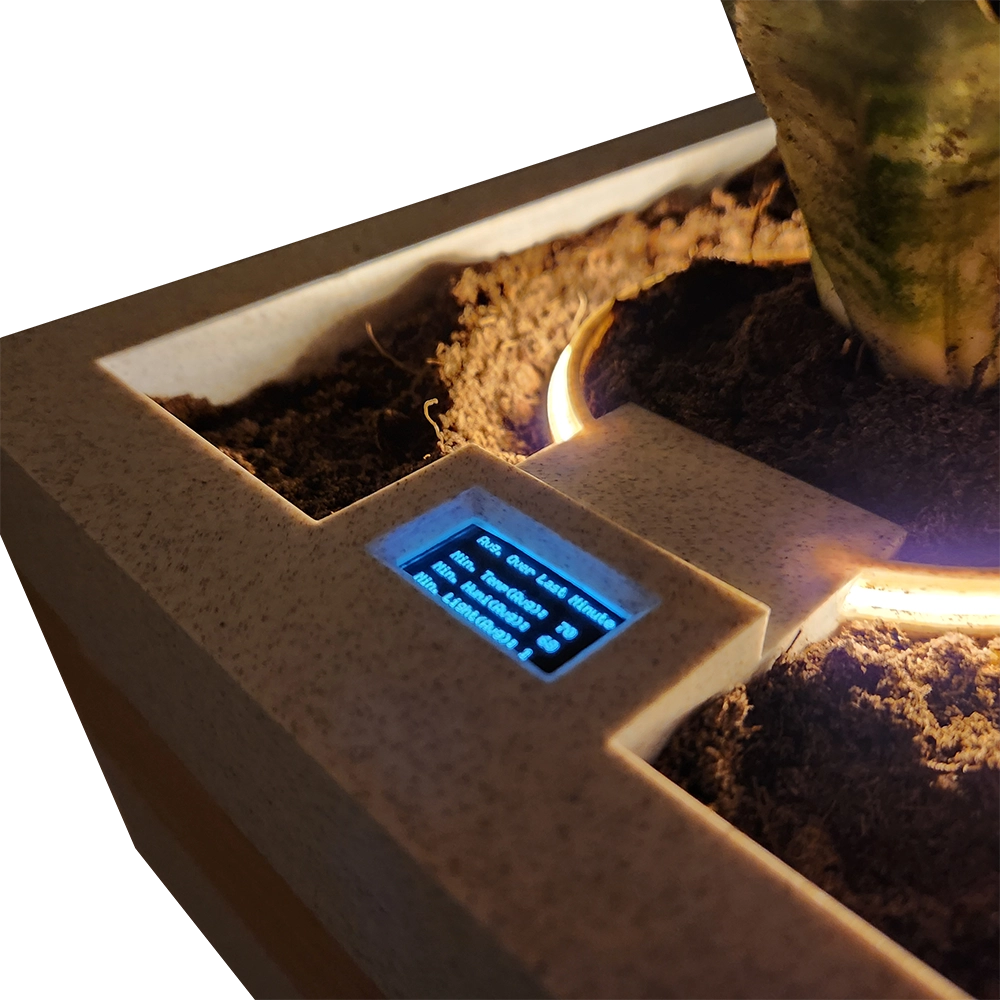
I built this project after a few “easy-to-care-for” houseplants didn’t survive under my watch. Too much or too little sun, water, or exposure to low temperatures always seemed to be the culprit. I wanted a simple, integrated way to track and display light, moisture, and temperature exposures on an hourly, daily, and weekly basis. My goals were to make the planter versatile (battery or wall powered), functional, and visually appealing enough to sit on a desk. By tracking these key plant vitals, I can make informed adjustments to placement and watering schedules.
Software Design
The software is organized around three core objectives:
Data Collection
Data Display
Accent Light Control
At the heart of the system is the HDC2080 sensor, which provides a 1-second interrupt used as the fundamental timing unit. Each second, the application reads temperature, humidity, and ambient light (lux), stores them in arrays, and computes rolling averages. Using this base unit, averages are rolled up into minute arrays, then into hour, day, and week arrays.
For displaying data, the OLED screen cycles through five phases, changing every five seconds.
Phase 1: Current, real-time readings.
Phase 2: Previous minute averages.
Phase 3: Hourly averages.
Phase 4: Daily averages.
Phase 5: Weekly averages.
Each phase is “gated,” appearing only when sufficient data is available. Data is shown in an upscaled font for easy readability.
Finally, the software handles accent lighting. If the ambient light sensor detects darkness, an LED is toggled on via push-pull mode on Port A Pin 0, in series with a resistor.
Hardware Design
For the hardware, I used a Bambu Labs P1S 3D printer, Einstar Vega 3D scanner, Bambu PLA (Marble and Basic filaments), and Plasticity Hard Surface Mod for modeling. Prototyping required multiple iterations and precise measurements to ensure a clean fit and finish. Soldering the electronics—something I hadn’t done before—was challenging but a great learning experience.
Reflections & Future Improvements
This was a project I’d wanted to pursue even before this course, and overall I’m very happy with the results. In retrospect, I may have scaled back my ambition: combining both 3D modeling and embedded coding proved time-intensive. Still, the process was rewarding and helped me grow in new areas. Looking ahead, I’d like to add richer OLED animations and possibly enable wireless data access via Bluetooth, paired with a web interface.
This project has sparked a genuine interest in microcontroller development, and I expect to apply these skills to many future projects around the house. It’s been both a challenging and enjoyable experience, and I’m grateful for the opportunity this class gave me to dive into it.

